Build A Drone Landing Pad

Step by Step Guide: Build A Drone Landing Pad Process
The Goal: Build a Drone Landing Pad stable enough for take off and landings. It needs to weigh enough to stay stable in windy weather, easy to carry and store. This Build a Drone Landing Pad project was made for no cost. At Must Own Tools we believe Repair, Repurpose or Recycle your materials.

Must Own Tools Drone Landing Pad Plan
(Download the plan)
Tools & Materials Needed
- Circular Saw
- Jig Saw
- Sander
- Drill & Drill Bits
- Tape Measure
- Straight Edge
- Work Table
- Paint Brush
- Safety Glasses, Mask, Gloves
- Board, Plastic or other material
- Handle template
- Paint
- Sandpaper
Time to Complete
- (1 Hr.) Prep Work (Gathering tools & materials
- (15 Min.) Make Handle Template
- (1-2 Hr.) Cutting out landing pad, round corners, cut out landing pad handle
- (30 Min.) Primer paint
- (2 Hr.) Paint Drying Time
- (30 Min.) First Coat of Paint
- (2 Hr. ) Paint Drying Time
- (30 Min.) Second Coat of of Paint - if needed
- (2 Hr.) Drying time - if needed
Build a Drone Landing Pad - Step by Step Plan
1) Find and gather your materials
We found this 1/2 inch thick piece of wood that used to be the door to our crawl space. The door used to be a 4' x 4' board, splintered at the bottom.


2) Make a Handle Template
Measure and cut out of paper or cardboard a template for laying out a hand hold area on your board.
WATCH OUR VIDEO: "Build Your Own Drone Landing Pad
3) Gather Tools, Paint Brushes, & Paint
This build requires a circular saw, drill, sander, tape measure, face mask, safety glasses, jig saw, primer, paint, paint brush and a writing tool.


4) Measure a 2' by 2' section of your board
Cut out a 2' x 2' section from your board with a circular saw.
Use a can - we used a tuna fish can - to mark rounded corners. Round the corners with a jig saw.
5) Use the template to make your handle
Center the template and mark out your handle. Build a Drone Landing Pad by drilling a hole large enough to fit the jig saw blade.
With a Jig saw cut out the handle area.


6) Sand, Sand, Sand
Sand both sides of the board, edges and inside the handle area with a sander. (Remember: Safety First - Always) Wear eye protection and a face mask when there is a lot of dust.
Don't forget to sand the inside of the handle. Watch this video to learn how.
7) Paint the Landing Pad
Paint the board with a primer coat, allow time for drying - at least two hours. When the primer is no longer tacky, apply the first coat of paint. We used left over color sample paint. The color stands out and makes it easy to find the Drone Landing Pad.
We hung our board and used a clamp to hold it in place while we painted. We choose to put a second coat on for extra coverage and protection.

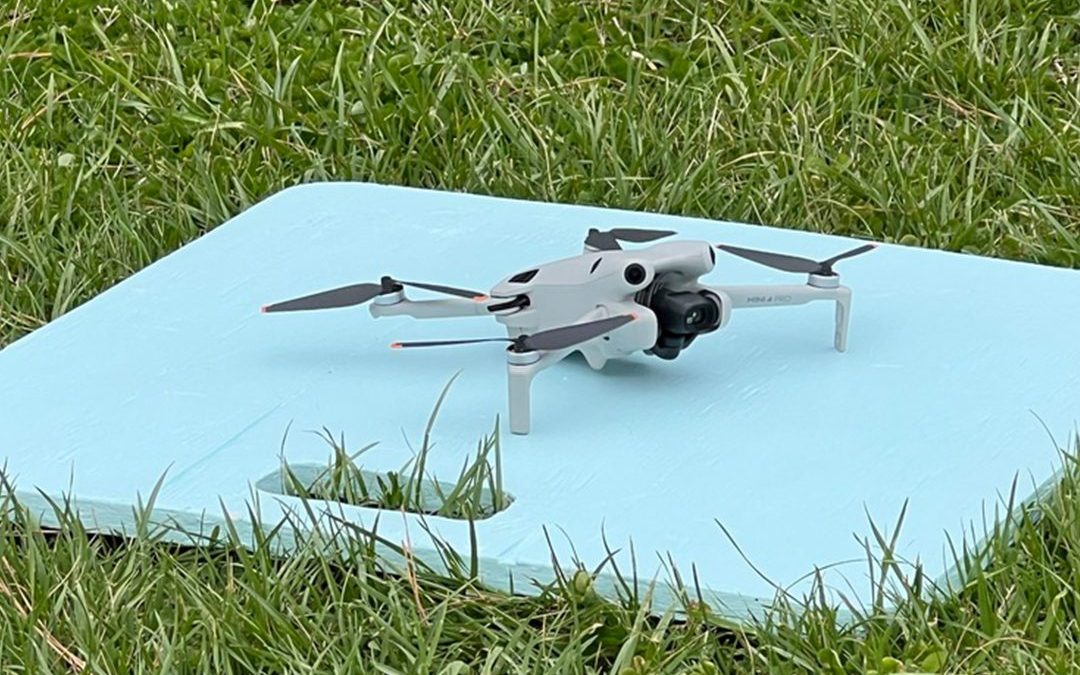
8) Your Build a Drone Landing Pad project is Finished
Touch up the paint, let dry overnight. You have finished your "Build a Drone Landing Pad" project. Make sure it is dry, store the Landing Pad in a dry storage place and be sure to keep it clean. Wipe off any excess dirt, grass or other material after each use to prevent it from getting into your Drone.

- How much did your Drone Landing Pad Cost?
- Can I use materials other than 1/2 thick board?
- Can I buy a Drone Landing Pad?
- What is Repair, Repurpose or Recyle?
Our "Build a Drone Landing Pad" project was part of our "Repair, Repurpose or Recycle" initiative. All materials were repurposed from other projects, the board used to be a crawl space door, paint is a color sample, and the handle template was from a old piece of cardboard.
The tools I already owned, the paint brush was purchased for a previous project.
Absolutely, just make sure the landing pad is heavy enough to not to fly away in the wind. Cardboard, plastic or any other material may work if it has enough weight.
Sure. If you don't want to take the time to make a Drone Landing Pad. There are plenty of options, here is a weighted, double sided waterproof landing pad from Amazon.
At Must Own Tools we are building our business on three pillars
- No Bull DIY advice
- Safety First - Always
- Repair, Repurpose, or Recycle
We want to provide ideas for great repurposing ideas for materials you already have around the house or shop. Where ever possible we want the cost of these projects to be as close to zero as possible.