Hammer Basics: How to choose and Use a Hammer Safely

What Hammer Should a DIY Project Owner Buy?
If you’re a new DIYer or homeowner, the best hammer for a Fix it Fast DIY project is usually a:
- 16 oz curved-claw hammer
- With a comfortable, non-slip handle (rubber or composite). Be sure it is fastened securely so it doesn’t come off during use.
- Be sure to purchase a claw hammer with a smooth, flat service, for driving nails, and other fastners.
A claw hammer can hang pictures, help build furniture, home repair and handle light demo—without being too heavy or specialized. Learn how to use your hammers safely and you’ll be set for most DIY jobs.
We’ll walk you through the different hammers, how to safely swing a hammer, and how to avoid the “smashed” finger moment.
WHATS IN THIS ARTICLE?
• What hammer should you buy?
• Safety First – Always (Hammers Are “Low Tech,” Not Low Risk)
• Hammer Types and Uses
• How to Choose the Right Hammer (Handle, Weight, and Grip)
• Grip and Balance
• How to Use a Hammer Safely (Step-by-Step)
• Common Hammer Mistakes (How to Avoid Them)
• No Bull Verdict: What Hammer Should You Actually Buy?
Safety First – Always (Hammers Are “Low Tech,” Not Low Risk)
Hammers look simple, and easy to use, but they’re behind a lot of common hand injuries—smashed fingers, flying nails, and chips of metal or wood in the eye. Safety groups and trade organizations all stress the same basics: wear eye protection, inspect the hammer before every use, and keep your hammer clear of exposed body parts.
At Must Own Tools, our core pillars are:
- Safety First – Always
- No Bull Tool Advice
Be sure to follow the Hammer safety basics with DIY every job you work on:
- Wear safety glasses whenever you drive or pull nails or strike anything hard.
- Inspect the hammer: no cracks in the handle, no loose head, no chipped or mushroomed face.
- Check your swing zone: no people, pets, or breakables where you could hit or damage something.
- Stand balanced with good footing—trips + swinging hammers is a bad combo.
For a full safety overview that covers all hand tools. Visit: the Must Own Tools Safety First page.
Hammer Types and Uses
There are a lot of hammer styles out there, but beginners really only need to know a few.
1. Curved-Claw Hammer the best DIY starter hammer
- Best for: everyday DIY home projects—hanging pictures, light framing, and general repairs
- Weight:commonly 16 oz for general use
- Features:
- Curved claw on the back for pulling nails
- Smooth, slightly rounded striking face
This is the best hammer for home use for most people

Curved-Claw Hammer
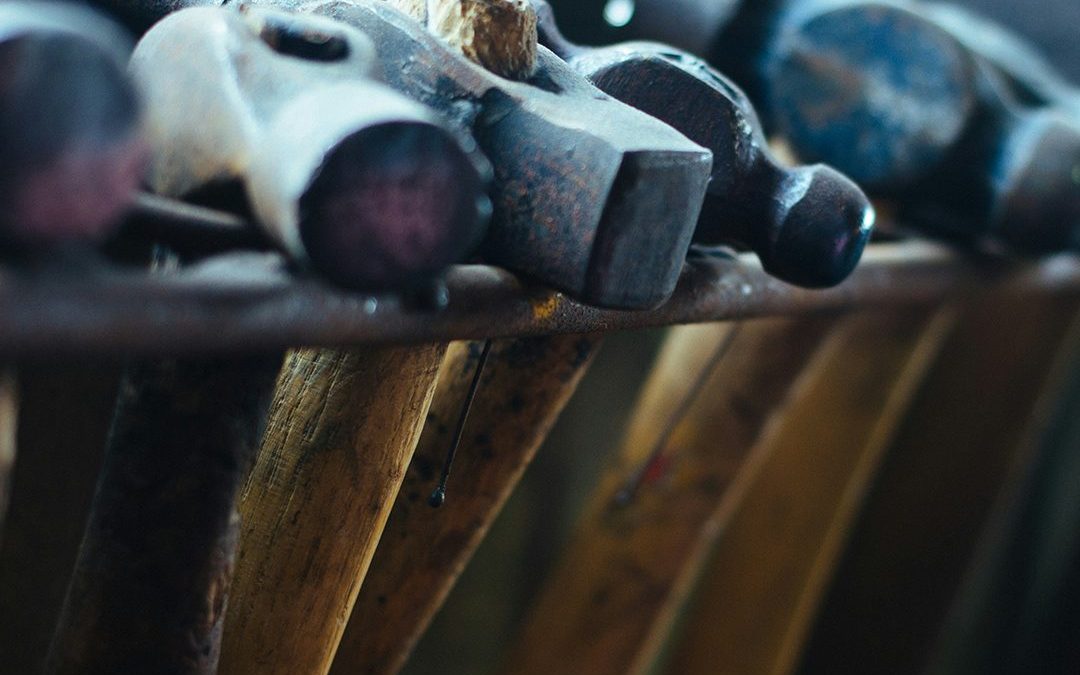
We Review Hammer Types
2. Straight-Claw / Framing Hammer
- Best For: heavy framing, demo, rough carpentry
- Weight: 20–24 oz, longer handle, often a textured (milled) face for gripping nails
- Downside for DIY projects: heavier, harder on the wrist, easier to dent or mark surfaces
No Bull: For 95% of typical homeowner jobs, a 16 oz curved-claw hammer beats a heavy framing hammer. You can always add a framing hammer later if you get into bigger builds.
3. Rubber Mallet
- Best For: tapping materials into place without leaving marks—pavers, furniture joints, trim
- Not a nail driver: mallets aren’t for driving nails or hitting metal; they’re for gentle persuasion.
4. Specialty Hammers (You Can Ignore for Now)
There are brick hammers, sledge hammers, ball-peen hammers, and more. They’re important for specific projects but not part of your first DIY kit. Your money is better spent on one good claw hammer as you start your DIY tool kit.

Rubber Mallet
How to Choose the Right Hammer (Handle, Weight, and Grip)
Weight: 16 oz Sweet Spot
- Lighter than 16 oz: good for very light tasks, but less versatile.
- Heavier (20–24 oz): more power but more fatigue and more risk for beginners.
For your first DIY hammer, Must. Own Tools believes 16 oz is the perfect weight.
Handle Material
- Wood (usually hickory): a comfortable feel, good shock absorption, but wood has a track record of cracking if used incorrectly.
- Fiberglass/composite: great shock absorption, durable, good for beginners.
- Steel: steel is very strong but steel handles can transmit more vibration unless it has a cushioned grip.
No Bull: For a new DIYer, a fiberglass or composite handle with a padded grip is an easy, forgiving choice.
Grip and Balance
When you pick up a hammer:
- It should feel balanced, not top-heavy or awkward.
- You want your hammer handle to be secure, not slippery in your hand
- A good hammer can be gripped comfortably anywhere on the handle. Choose the grip position that is the most comfortable for you.
If it doesn’t feel right in the store, it will feel worse after continuous use.
How to Use a Hammer Safely (Step-by-Step)
1. Hammer Safety – Inspect the Hammer
- Check the handle for cracks or splinters.
- Make sure the head is solidly attached—it is not loose, or easily comes off.
- Look at the head of the hammer: no chips, deep gouges, or “mushrooming” in the head of the hammer.
Use your hammer safely, if your hammer looks or feels damaged, DO NOT use it. Replace it. We know those hand me down tools can be special, but we are sure your loved ones would not want you to be injured. Hang on to them for sentimentality but use a hammer in good condition.
2. Wear the Right Safety Gear
- Always wear safety glasses (non-negotiable) to protect from flying nails and chips.
- Light work gloves if you’re doing a lot of hammering or working with rough materials.
- Closed-toe shoes never hammer in flip-flops.

Download our Home Repairs with Hammers Guide
3. Hold the Hammer Correctly
- Grip the handle near the end, not up near the head.
- Wrap your fingers comfortably; thumb alongside or around the handle (whatever feels stable).
Holding the hammer up near the head of the hammer is okay for very delicate taps, but for normal work, the power and control come from holding it farther back.
4. Start the Nail
- Hold the nail near the top of the nail with two fingers or needle nose pliers
- Tap the nail lightly to get it started
- Use controlled steady hammer swings. The hammers power comes from swinging with a smooth consistent motion.
5. Drive the Nail
- Swing from your elbow and shoulder, not just your wrist.
- Aim for a square hit on the nail with the center of the hammer face.
- Use steady, controlled swings. Power comes from a smooth motion.
6. Pull a Nail Safely
- Slide the claw under the nail head.
- Use a scrap piece of wood under the hammer head if you need more leverage.
- Pull the hammers head back slowly and smoothly to pull the nail out
Safety First-Always: Be careful, when a nail pops free, you don’t want your knuckles to slam into the wall or board. This is another reason to wear eye protection, a nail that unexpectedly pops free can fly dangerously in any direction.

Common Hammer Mistakes (How to Avoid Them)
1. Using the wrong hammer type
- Example: using a heavy framing hammer for tiny brad nails.
- Fix: stick with a 16 oz curved-claw hammer for most home tasks.
2. Holding the hammer handle to close to the hammer’s head
- You lose power and you hit the nail too many times
- Fix: grip the hammer near the end of the handle for normal swings.
3. Swinging too hard, too early
- If your swing is out of control = missed nails and smashed fingers
- Fix: start with light taps, then increase power once the nail is set.
4. Ignoring damaged hammers
- Cracked handles and loose heads are a major hazard.
- Fix: inspect regularly and retire sketchy tools.
5. No eye protection
- Safety First-Always- One flying metal or wood chip can change your life.
- Fix: keep a pair of safety glasses in your tool kit so you can always follow a Safety First policy.
No Bull Verdict: What Hammer Should You Actually Buy?
This is the hammer you should buy first for your tool kit
A 16 ounce curved-claw hammer with a fiberglass or composite handle, with a comfortable, non-slip grip. Be sure the hammer head has a smooth face with no grooves, chips or indentations.
Add these hammers later, if your DIY projects require it
20-24 framing hammers for larger projects. Rubber Mallets for tapping without leaving marks on the material. Other specialty hammers when your DIY projects require it.
Skip these hammers for now
Super cheap hammers with loose heads and hard skinny handles. Gimmicky multi-tool hammers that try to do everything. No Bull: No Bull: One well-chosen hammer plus solid safety habits beats a collection of random, uncomfortable tools every day of the week.
Hammer Basics Frequently Asked Questions
16 oz curved-claw hammer
For most homeowners and beginner DIYers, the best hammer is a 16 oz curved-claw hammer with a comfortable, non-slip handle. It’s light enough to control easily but strong enough for everyday jobs like hanging pictures, assembling furniture, and light framing.
A claw hammer is made for general use
Grip the hammer near the end of the handle with your dominant hand. Wrap your fingers securely and keep your wrist fairly straight. Let your elbow and shoulder do most of the work. You can choke up near the head for very light, controlled taps, but don’t stay choked up for regular swings or you’ll lose power and control.
Start the nail with light taps
- Start the nail with light taps while holding it near the head.
- Only switch to full swings once the nail can stand on its own.
- Keep your fingers clear of the hammer path.
- For short nails, use a clothespin, comb, or piece of cardboard to hold the nail instead of your fingers.
Your hammer is unsafe if:
- The head is loose or wobbles.
- The handle is cracked, badly worn, or splintered.
- The face is chipped, badly mushroomed, or deeply gouged.
When in doubt, replace it. A new hammer is cheaper than a trip to urgent care.